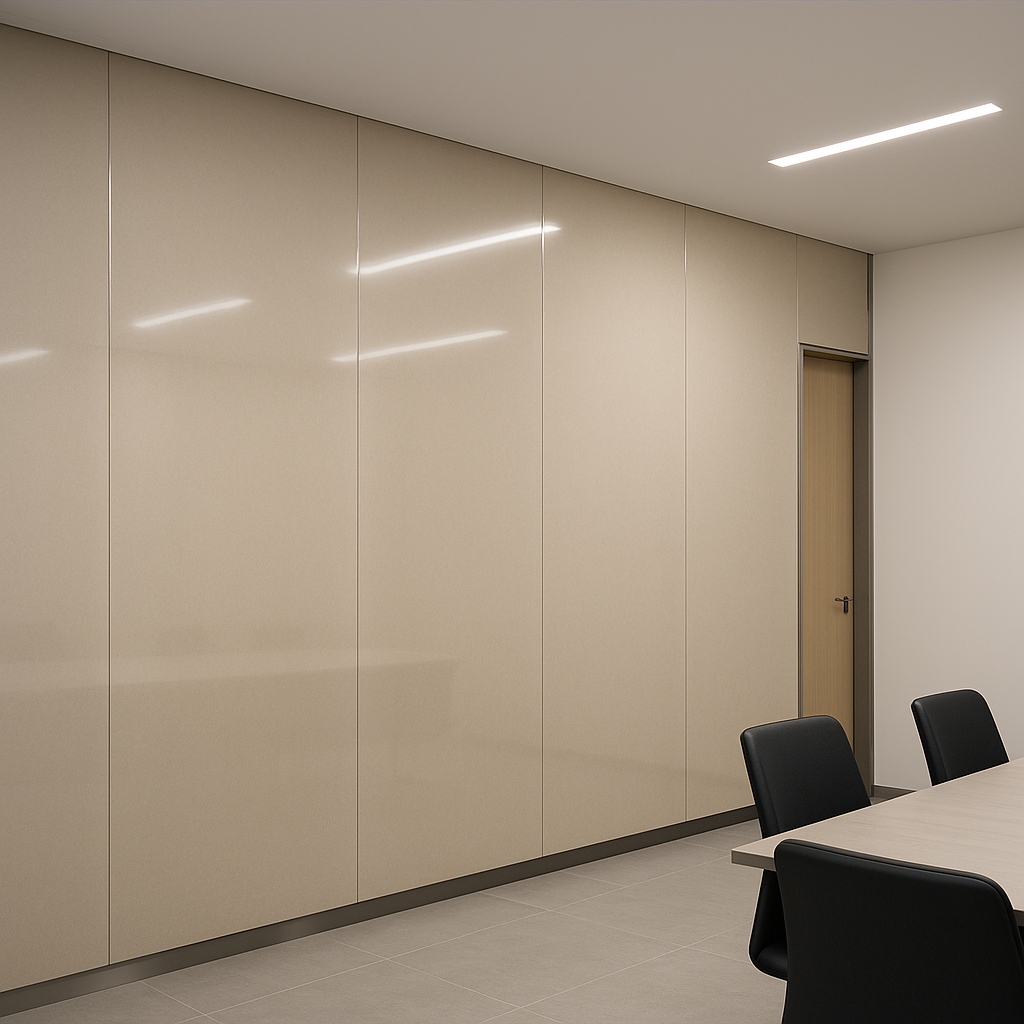
Size & Thickness Guide: 6 mm Thin Porcelain Wall Panels
Outline
- Why 6 mm is the sweet spot for wall cladding
- Standard formats and how to choose them
- Vertical‑only joints (3–4 mm) and layout logic
- Height planning: 2.4–3.0 m ceilings without horizontal joints
- Weight per panel and safe handling
- Edge finishing with stainless L‑trim
- Coordination with doors, corners, and services
- Cost/yield strategies to cut waste
- Submittals and technical documentation
- Next steps
Why 6 mm Is the Sweet Spot
For interior wall cladding, 6 mm porcelain balances stiffness, weight, and install efficiency. At ~2.3 g/cm³ body density, 6 mm panels weigh roughly 13.8 kg/m²—light enough for rapid handling yet dense and stable after ≈1200 °C firing. The thin body means less dead load on partitions, faster adhesive cure, and easier re‑work during cuts, while still delivering the hygiene, colorfastness, and chemical resistance designers expect from porcelain.
Key result: 6 mm supports one‑piece floor‑to‑ceiling runs with vertical‑only joints for a clean, premium look.
Standard Formats & When to Use Each
We manufacture on a 1200 mm module to simplify layout and logistics. Typical formats for walls:
- 600×1200 mm – Smallest module for tight shafts or narrow reveals.
- 900×1800 mm – Balanced scale for corridors with frequent door openings.
- 1200×2400 mm – Efficient for 2.4 m ceilings and bulkheads.
- 1200×2700 mm – Ideal for 2.6–2.8 m finished heights without horizontal joints.
- 1200×3000 mm – Best for 3.0 m lobbies or to allow scribing at floor/ceiling while keeping joints vertical.
Selection rule of thumb
- Match the clear finished height first (FFL to ceiling line). Choose a panel length equal to or slightly greater than the height so you can trim 5–15 mm at either edge for tolerance.
- Keep joints vertical, 3–4 mm. This preserves the one‑piece look while accommodating building movement and panel tolerance.
- Center on doors and features. In long corridors, center the 1200 mm grid on door frames for symmetrical cuts.
- Avoid horizontal seams. If bulkheads force a split, keep the upper strip continuous and hide it under a shadow gap.
Height Planning Without Horizontal Joints
Typical finished heights and recommended formats:
- 2.4 m classrooms → 1200×2400 mm.
- 2.6–2.7 m hospital corridors → 1200×2700 mm (scribes out minor slab sweep).
- 3.0 m offices & lobbies → 1200×3000 mm (small scribe at floor/ceiling).
If you design for 2.8 m, select 1200×3000 mm and trim 200 mm total (e.g., 5–10 mm scribe and 90–190 mm removed during shop cutting), maintaining factory edges at visible joints.
Vertical‑Only Joints & Grid Logic
- Joint width: 3–4 mm vertical only.
- Back‑to‑back accuracy: Factory‑ground edges allow consistent gaps and tight reveals.
- Corners: Use 304 stainless L‑trim; stop panels 2–3 mm off the trim leg and seal with color‑matched silicone.
- Movement joints: Follow substrate design; where required, align them behind vertical panel joints to keep the façade uninterrupted.
This grid produces a calm, monolithic wall surface—a particularly strong fit for healthcare, education, and public‑facing corporate space where visual noise and grime traps must be minimized.
Weight per Panel & Safe Handling
At ~13.8 kg/m² for 6 mm thickness, typical panel masses are:
| Format (mm) | Area (m²) | Approx. Mass (kg) |
|---|---|---|
| 600×1200 | 0.72 | ~10 |
| 900×1800 | 1.62 | ~22 |
| 1200×2400 | 2.88 | ~40 |
| 1200×2700 | 3.24 | ~45 |
| 1200×3000 | 3.60 | ~50 |
Handling guidance: Two trained installers can safely move 600×1200 mm. For 1200×2400 mm and larger, use vacuum lifters or a spreader bar with multi‑point slings. Always store panels vertically on A‑frames with edge protection.
Edge Finishing: Stainless L‑Trim as Standard
Nothing frames a porcelain plane as crisply as stainless. Our standard detail:
- Trim: 304 stainless L‑trim, 1.0–1.2 mm gauge, brushed finish.
- Set‑out: Trim fitted first; panels cut to leave a 2–3 mm reveal to the inner leg; sealant to match grout.
- Internal corners: Either a neat caulked joint or a slim H‑profile where maintenance access is needed.
The trim protects edges from carts and luggage while giving a precise, architectural termination.
Coordination With Openings & Services
- Doors: Center the 1200 mm module on the frame; target ≥100 mm cut pieces to avoid slivers.
- Signage & handrails: Position fixings inside panel fields, not along joints; pre‑drill with diamond tools.
- Sockets & data: Cutouts should have ≥50 mm edge distance; deburr and seal to prevent stress risers.
- Base & ceiling: Maintain a small scribe (5–10 mm) concealed behind skirting and shadow gaps for tolerance.
Yield, Cost & Waste Reduction
- Design to the module. Align walls to 1200 mm centers; your take‑off becomes fast, and waste drops sharply.
- Repeatable stacks. For long runs, repeat a [start panel] + [full panels] + [end panel] stack; shop‑cut the start/end pair identically for mirrored corridors.
- Minimize cut types. Standardize to two cut widths per elevation so installers can pre‑rip panels and accelerate setting.
- No horizontal joints. Eliminating one seam line reduces grout, labor, and cleaning for the life of the building.
Submittals & Technical Documentation
Each order ships with a Technical Data Sheet, installation guide, and cleaning protocol. While this article focuses on format selection, the product remains A1 non‑combustible, compatible with low‑VOC installation systems, and supplied with CE/UKCA documentation on request.
Where Each Format Excels
- Healthcare corridors (2.6–2.7 m): 1200×2700 mm mirror‑gloss panels keep walls bright and easy to disinfect.
- Schools (2.4 m): 1200×2400 mm holds up to student traffic; choose matte in glare‑sensitive classrooms.
- Offices & lobbies (3.0 m): 1200×3000 mm creates gallery‑grade planes behind reception and feature stairs.
- Transit halls: 1200 mm module speeds night‑shift replacement—swap a full height panel rather than patchwork tiles.